So I thought I would share some of my basic editing techniques. There are many different ways to do a basic portrait edit, but this is my favorite way to do it to keep the photo pretty natural looking.
I start out with opening my RAW file in photoshop. There I tweek the photo just a bit. I usually play with the blacks, whites, and clarity. Just enough to enhance the photo a little bit. I don't touch much else because I fix other things with layer masks.
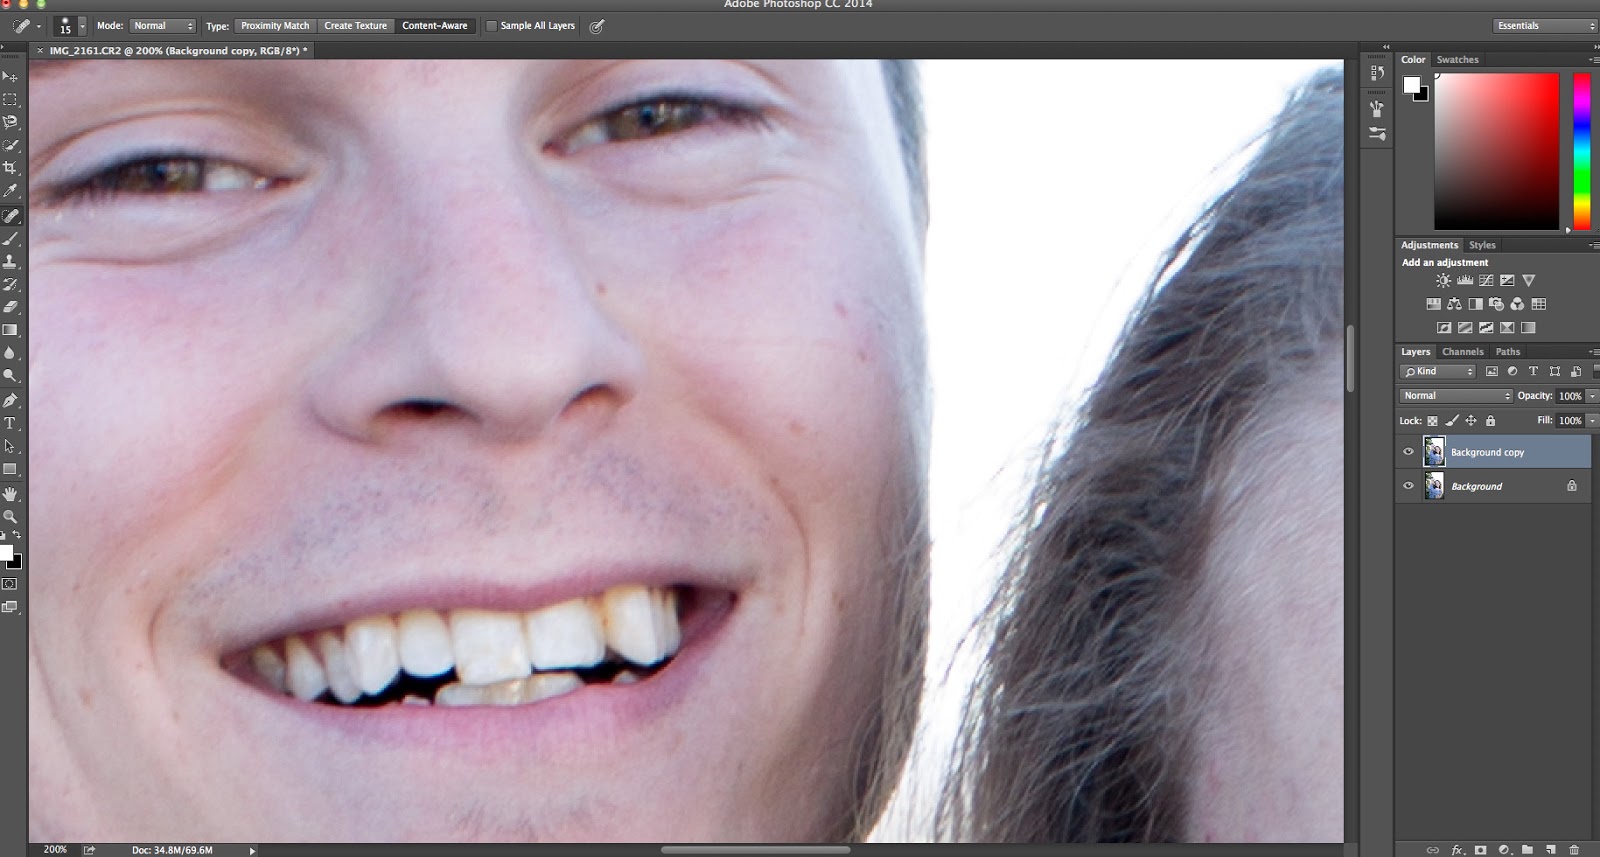
Then I continue to make a duplicate layer. So that I have the background layer and the background copy.
Then, working on the background copy layer I select the spot healing brush. Now remember the name SPOT healing brush. This is just for removing minor imperfections on the skin.
So I begin removing small imperfections as you can see below. I usually start on a cheek and work my way around the face from there.
I found this small scar on his face. Now something like this I can use the healing brush for. You can also use the clone stamp at a low opacity to help blend and cover the scar, but I just used the spot healing brush since it is a pretty simple task.
Below you can see that the scar is now removed and the skin looks more smooth
Here is a before and after of the skin after just using the spot healing brush.
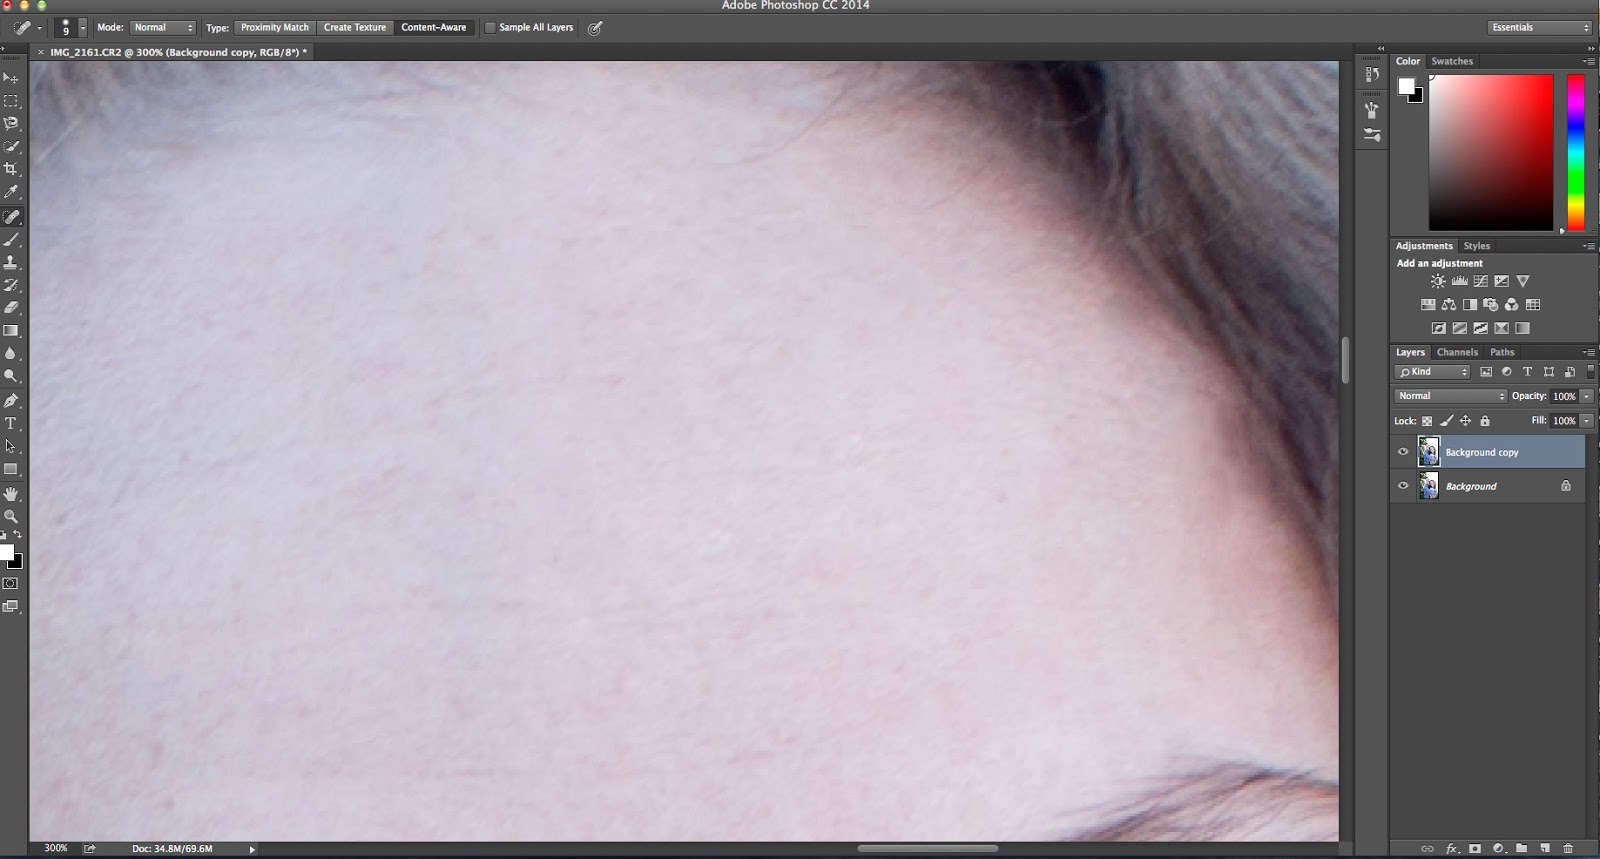
Also here, you can see a small imperfection on the forehead.
I just used the spot healing brush again to smooth it away.
Here is a before and after of skin again after using the spot healing brush.
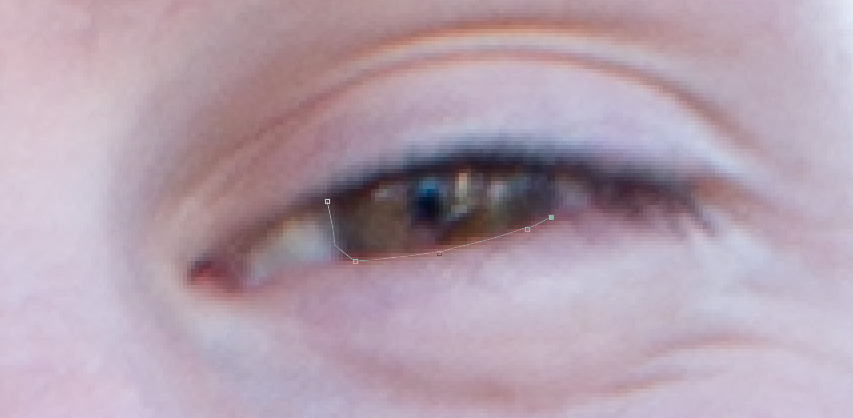
Then I like to move on to the eyes. I begin by selecting the magnetic lasso tool.
I begin to trace around the colored part of the eye. It should begin to look like this. Then after you select one eye. You need to select the other eye. To do this you just need to hold down the SHIFT KEY and then you can start selecting the other eye.
After both eyes are selected you then need to feather your line so that it wont be so harsh. From the select menu select -Modify- and then -Feather-
For eyes, I usually feather the pixels anywhere between 3-5 pixels.
Then you need to make the eyes on their own layer. You can do this by hitting (CONTROL + C) - (CONTROL + V) or if you are on a MAC then replace CONTROL with COMMAND.
If you turn off your other layers your eye layer should look something like this.
Creepy, I know....
Then from the filter menu select -Other- and then -High Pass-
I usually put the radius pretty high for eyes so that it sharpens them a lot.
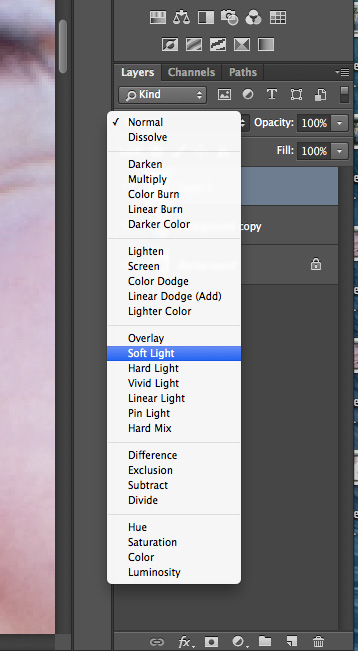
After you put the High Pass filter on the eyes, the eyes will look very dark. So to fix that, make sure you are still on the layer your eyes are on and change the mode from Normal to Soft Light. Then the sharpness will shine through.
Here is a before and after for the eyes after -High Pass- and -Soft Light- were added to the layer.
Then I like to move on to the coloring and levels of the photo. So I click on the -Create new fill or adjustment layer- button. I then select -Levels-. Here I just mess with the RBG color. I add a little black and more white so that the colors contrast just a little bit more.
Then I use the same button, but this time I select -Hue/Saturation-
I just use this to add a tiny bit of warmth to the photograph. I usually turn up the saturation a tad and then push the hue just a few ticks to the right. Then it gives me a more golden hue rather than red.
Here is the final product before and after.